ON THE COURSE TO SUCCESS WITH HIGHEST EFFICIENCY!
The quality assurance plays a central role at HAKOS and is closely connected with the philosophy of precision. Since the highest precision within the µ-measurement range obtained by HAKOS requires not least the highest testing level in the quality assurance as well.
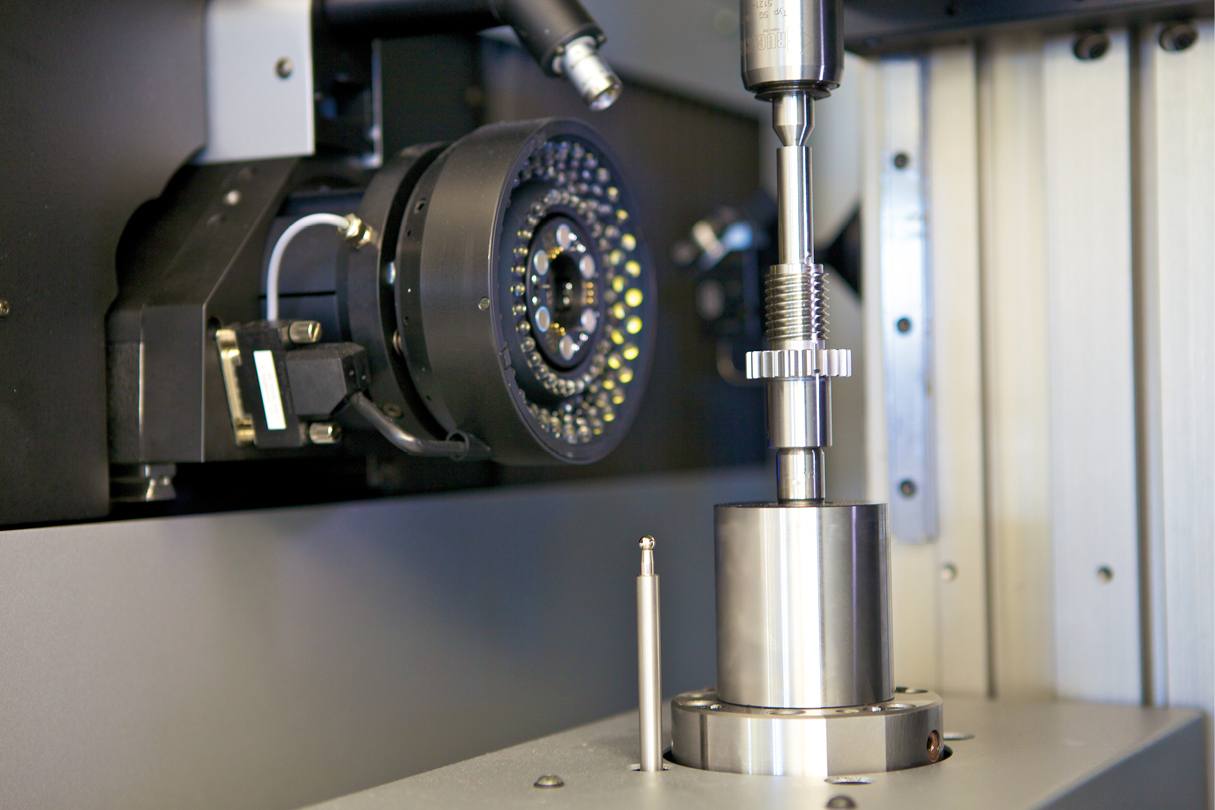
Our new test centre with a Werth Scope Check V measures geometries, such as the gradient, the outer and pitch diameter, check gauge, relief from grinding, groove form, ingate as well as radii and contours, optically, by laser and by fibre sensor. The smallest radii starting from R 0.02 and concentricities of 0.002mm are represented in 10 times optical resolution and 3D measurement. Contours can be registered by a fibre sensor with ø 0.05mm.
With this we have created the requirements for manufacturing with the utmost precision in the µ-measurement range as well as in a tested and documented way. HAKOS obtains surface accuracies with unpolished grinding surfaces of Rz=1.5. Of course, component marking is also part of our range of services.
We are certified according to DIN EN ISO 9001:2015.
Here is our certificate for download

YOUR CONTACT TO US
We will gladly answer any questions you may have!
Tel. +49 (0) 77 20 – 70 16
info@hakos-gmbh.de
